A filter is a rule you define to conditionally allow or automatically stop certain asynchronous notifications from delivering to your destination(s) (i.e., notifications you receive). You should use filters to:
- Reduce noise: Prevent irrelevant data from reaching your system.
- Manage workflows: Only process notifications that meet specific criteria (e.g., only accept PatientAdmin messages for patients in the cardiology department).
There are two types of filters:
- Send if: Conditionally allow certain notifications based on one or more defined rules.
- Block all: Don’t allow any notifications for this subscription.
You can apply, or link, filters to subscriptions that rely on either Redox data models or Redox FHIR®.
Filters are one of many operations that can be applied during log processing. Learn about operations.
- All environment users can view filters. However, a user must be assigned to an engineer or a support role to create or edit filters. Learn about user roles.Recommendation about PHI in filters
- Before creating a filter, identify the specific field path (JSON or FHIR®) you want to filter on.
- To create a filter, select a subscription with async traffic (an event notification that goes one way).
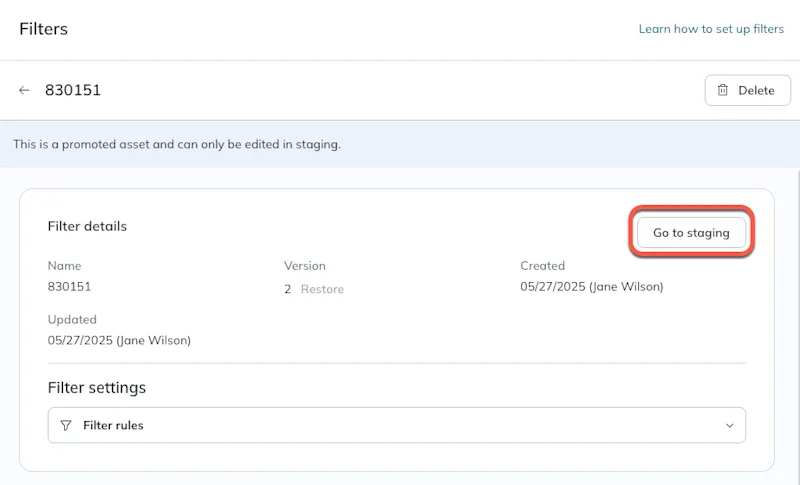
- To edit a promoted filter, first edit the staging version of the filter, then re-promote to production.


Follow these instructions to review all the filters in your environment at once.
- Log in to the Redox dashboard.
- From the navigation menu, click the Operations drop-down.
- The Operations options expand. Click the Filters option.
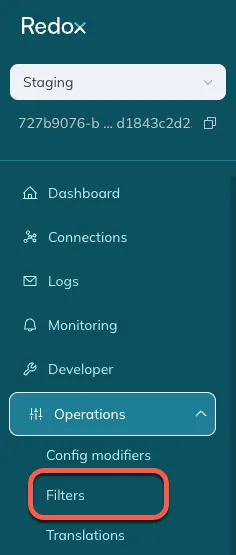
Filters in the side nav - All existing filters in the environment display.
On the Logs page of the dashboard, any filtered logs have the Filtered icon.
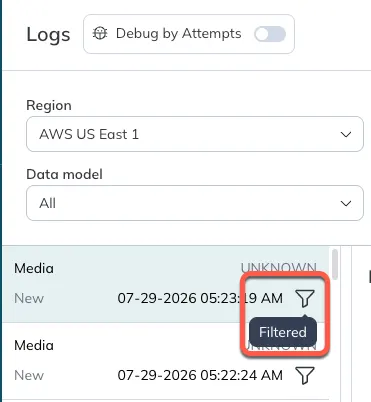
Selecting the log opens the processing stages, which have a Filtered label and icon if a filter was applied. You can select the processing stage to view the log details, then click the filter label to see the specific filter details. These details include the status of the log and the outcome of each filter rule.


- Follow the steps to view filters.
- Click the New button.
- The create form opens. Enter a human-friendly name for the filter. This name appears on the Filters page.
- In the Type field, select either Block all or Send if. Follow the instructions for the relevant type.
Create a filter





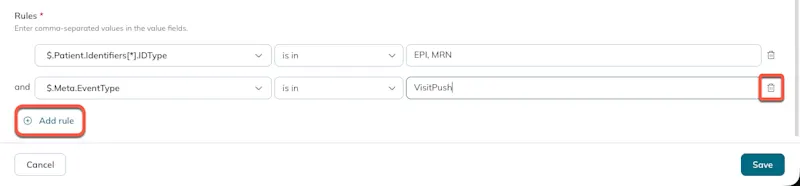

If you’re creating a filter for a subscription that relies on Redox FHIR®, the instructions are the same with a couple of minor differences when selecting the FHIR® field path.
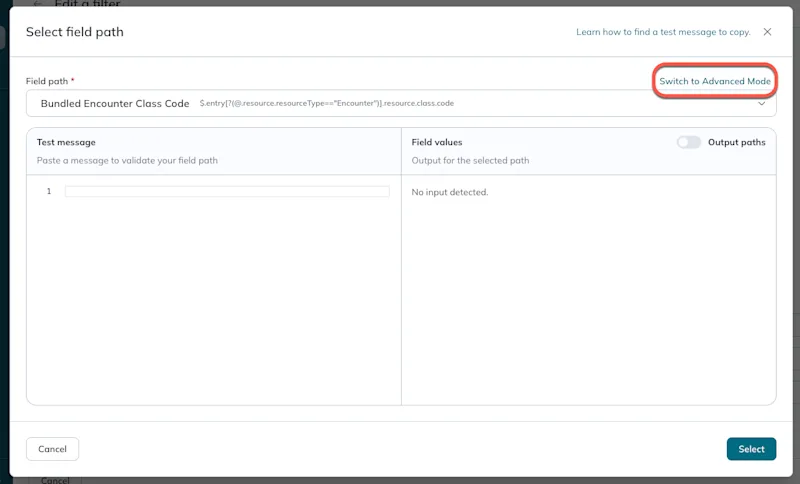
In the Select field path modal, you can click the Switch to Advanced Mode option to directly edit the field path or enter one that doesn’t appear in the drop-down list. We don’t recommend advanced editing for FHIR® beginners.
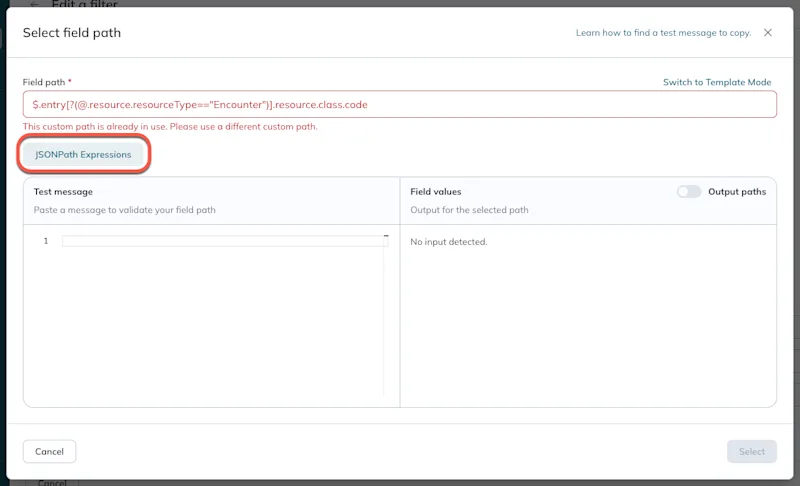
In advanced mode, you can click the JSONPath Expressions link to open help text definitions. Switch back to template mode anytime.
When validating the FHIR® field path, you have the additional option to toggle between Field values and Output paths to test that you have both correct. The value tells you what value would be filtered, and the path tells you the location in the FHIR® payload.
- Follow the steps to view filters.
- Find the filter you want to edit and click anywhere it in its row.
- Under Filter details, click the Edit button at the top right. For promoted filters, follow the instructions below these.
- The edit form opens. Edit any details or defined rules, or add new ones.
- When you’re finished, click the Save button.
A filter can only be linked to one subscription. You have to create one for each subscription you want to filter.
- Follow the steps to view filters.
- Find the filter you want to edit and click anywhere it in its row.
- The Details page opens. Fill out the fields under the Links section.
- From the Connection drop-down, select the connection you want to link the filter to.
- Click the Subscription drop-down. A modal opens with a list of the selected connection’s subscription(s). Click the radio button of the subscription you want, then click the Select button.
- Click the Link button.
Link a filter - The filter automatically applies to the subscription’s traffic. For block all filters, all traffic for the selected subscription is restricted until the filter is removed.Filter details in logs
A filter can only be linked to one subscription. You have to create one for each subscription you want to filter.
Also, a subscription can only have one filter link. This means there’s a 1:1 relationship between filters and subscriptions. Learn about subscriptions.
- Follow the steps to view filters.
- Find the filter with the link you want to manage and click anywhere it in its row.
- The Details page opens. A filter can only be linked to one subscription. To add a new link, you have to delete the existing filter link.
- To view an existing link in context, click the link to open related logs.
- To delete an existing link, click the three-dots icon to the right of the subscription, then the Delete option. A modal opens to confirm that you want to proceed. Click the Delete button to continue or the Cancel button to discard the changes.
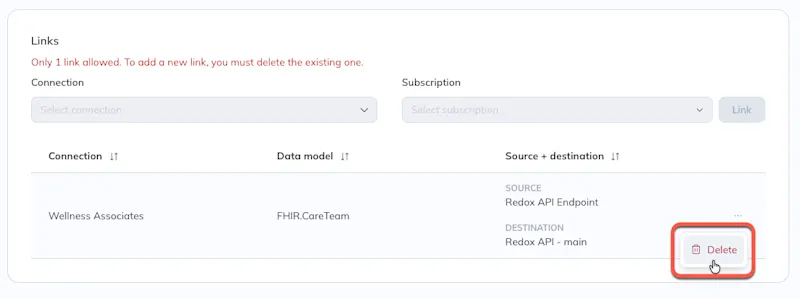
Delete a filter link - To add a new link, you must first delete an existing link. Then, follow the steps to link a filter.
Alternatively, you can see the filter link information on the Details page of the linked subscription. You can click the Manage button to navigate back to the Filters page to edit or remove the link.
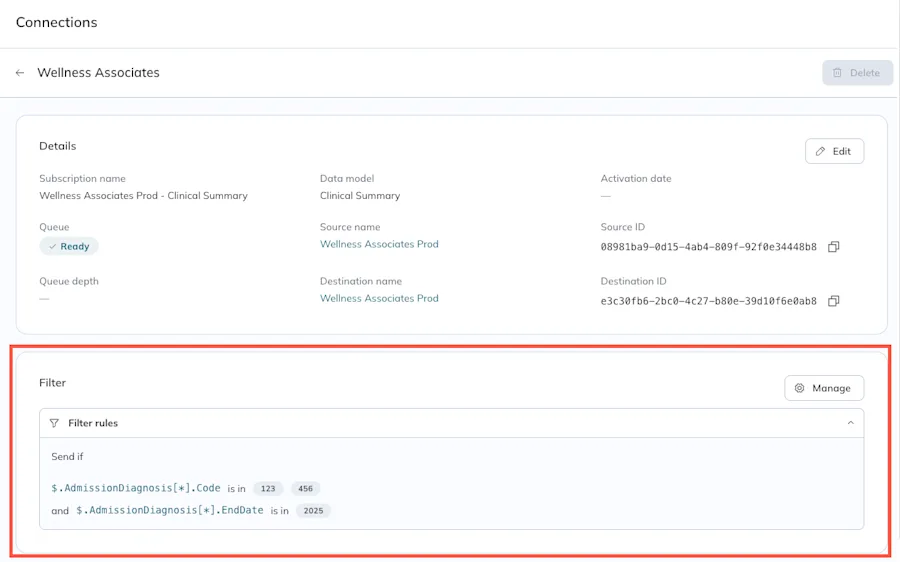
During implementation, you can build and test a filter in a staging environment. Once you’re confident it works, you can promote it to production. Promoting an asset saves time and avoids introducing errors by rebuilding it in a different environment. Learn about promoting assets.
- Follow the steps to view filters.
- From the Environments drop-down, make sure you’ve selected the Staging environment.
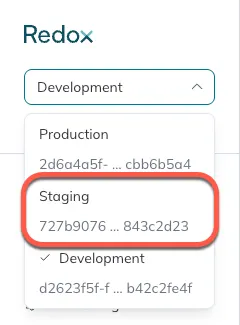
Select the staging environment - Find the filter you want to promote and click anywhere in its row.
- The Details page opens. Click the Promote button.
- A modal appears to let you know you’re exiting the staging environment and proceeding to the production environment. Click the Proceed button. Otherwise, click the Cancel button to discard the promotion.

Promote a filter to production - The Details page in the production environment opens. Add a filter link to a subscription to apply the filter in your production environment.
Every time you edit a filter, you create a new version of the asset. You can restore a version of a filter that’s not currently in use. This may be helpful when troubleshooting to see where an error might have been introduced or to resolve an error by using a version that worked previously.
- Follow the steps to view filters.
- Find the filter with a version you want to restore and click anywhere in its row.
- The Details page opens. Click the Restore button.
- A modal appears to restore a version. From the drop-down, select a version to restore.Restore notes
- The diff view shows what’s different between the current and selected version. Review the differences. When finished, click the Restore button.Versions after editing

Restore a filter version - For promoted assets, restoring a version only applies to the current environment. If you restore a version in staging, you may need to re-promote the asset if you want to apply it to production as well.
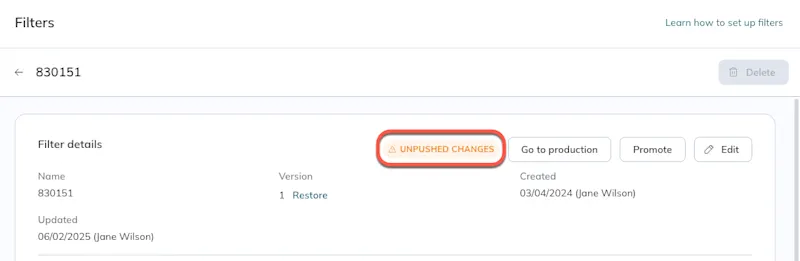
Unpushed changes 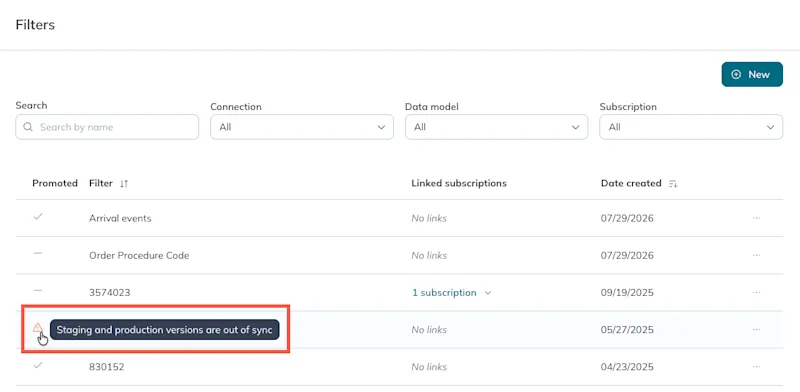
Out of sync versions
